

Table of contents
- So, What Do You Need? 🤔
- Laying the Foundation with HTML 🎵
- Adding the Magic with CSS ✨
- Setting the Stage
- Adding Songs to the Collection
- Implementing the Playback Logic
- Accessing DOM Elements
- Initial Setup
- Background Animation
- Loading Music
- Play and Pause Functions
- Previous and Next Functions
- Play and Pause Button Event
- Building the Music List
- Adding Song Durations
- Enhancing the Playback Experience
- Dynamic Icons for Looping and Shuffling
- Wrapping Up
Hello there! 👋
Learning to code while listening to music makes it fun. In this post, we'll build a simple music player from scratch using HTML, CSS, and JavaScript. Whether you're a beginner or an expert, this project will be a fun way to learn some coding concepts while listening to your favorite tunes.
We'll build the music player with HTML and style it with CSS. Then with JavaScript, we'll make it functional - adding songs, playing/pausing music, changing tracks, and controlling the volume.
You can see the final player in action here. Let's get started building our music player! Open up your code editor, and let's write some code.

And if you're curious, you can even explore the nitty-gritty details by checking out the complete code on GitHub. Pretty cool, right? Now, let's not keep the music waiting any longer – it's time to turn up the volume on our coding skills!
So, What Do You Need? 🤔
Before we start coding like rockstars, here's a quick checklist of what you should have in your coding toolbox:
A good grasp of HTML basics
A decent understanding of CSS
A sprinkle of JavaScript knowledge
Grab your trusty code editor – I'm using VS Code, but you can use whatever floats your boat. Now, let's dive into creating our musical masterpiece!
Laying the Foundation with HTML 🎵
Open up your index.html and let's start with a basic HTML structure. If you're using VSCode, you can quickly generate this by typing ! and pressing Tab.
<!DOCTYPE html>
<html lang="en">
<head>
  <meta charset="UTF-8">
  <meta name="viewport" content="width=device-width, initial-scale=1.0">
  <link rel="stylesheet" href="index.css">
  <link rel="stylesheet" href="https://cdnjs.cloudflare.com/ajax/libs/font-awesome/6.4.2/css/all.min.css" integrity="sha512-z3gLpd7yknf1YoNbCzqRKc4qyor8gaKU1qmn+CShxbuBusANI9QpRohGBreCFkKxLhei6S9CQXFEbbKuqLg0DA==" crossorigin="anonymous" referrerpolicy="no-referrer" />
  <link rel="stylesheet" href="https://fonts.googleapis.com/icon?family=Material+Icons">
  <title>Music Player</title>
</head>
<body>
  <!-- Your content goes here -->
</body>
</html>
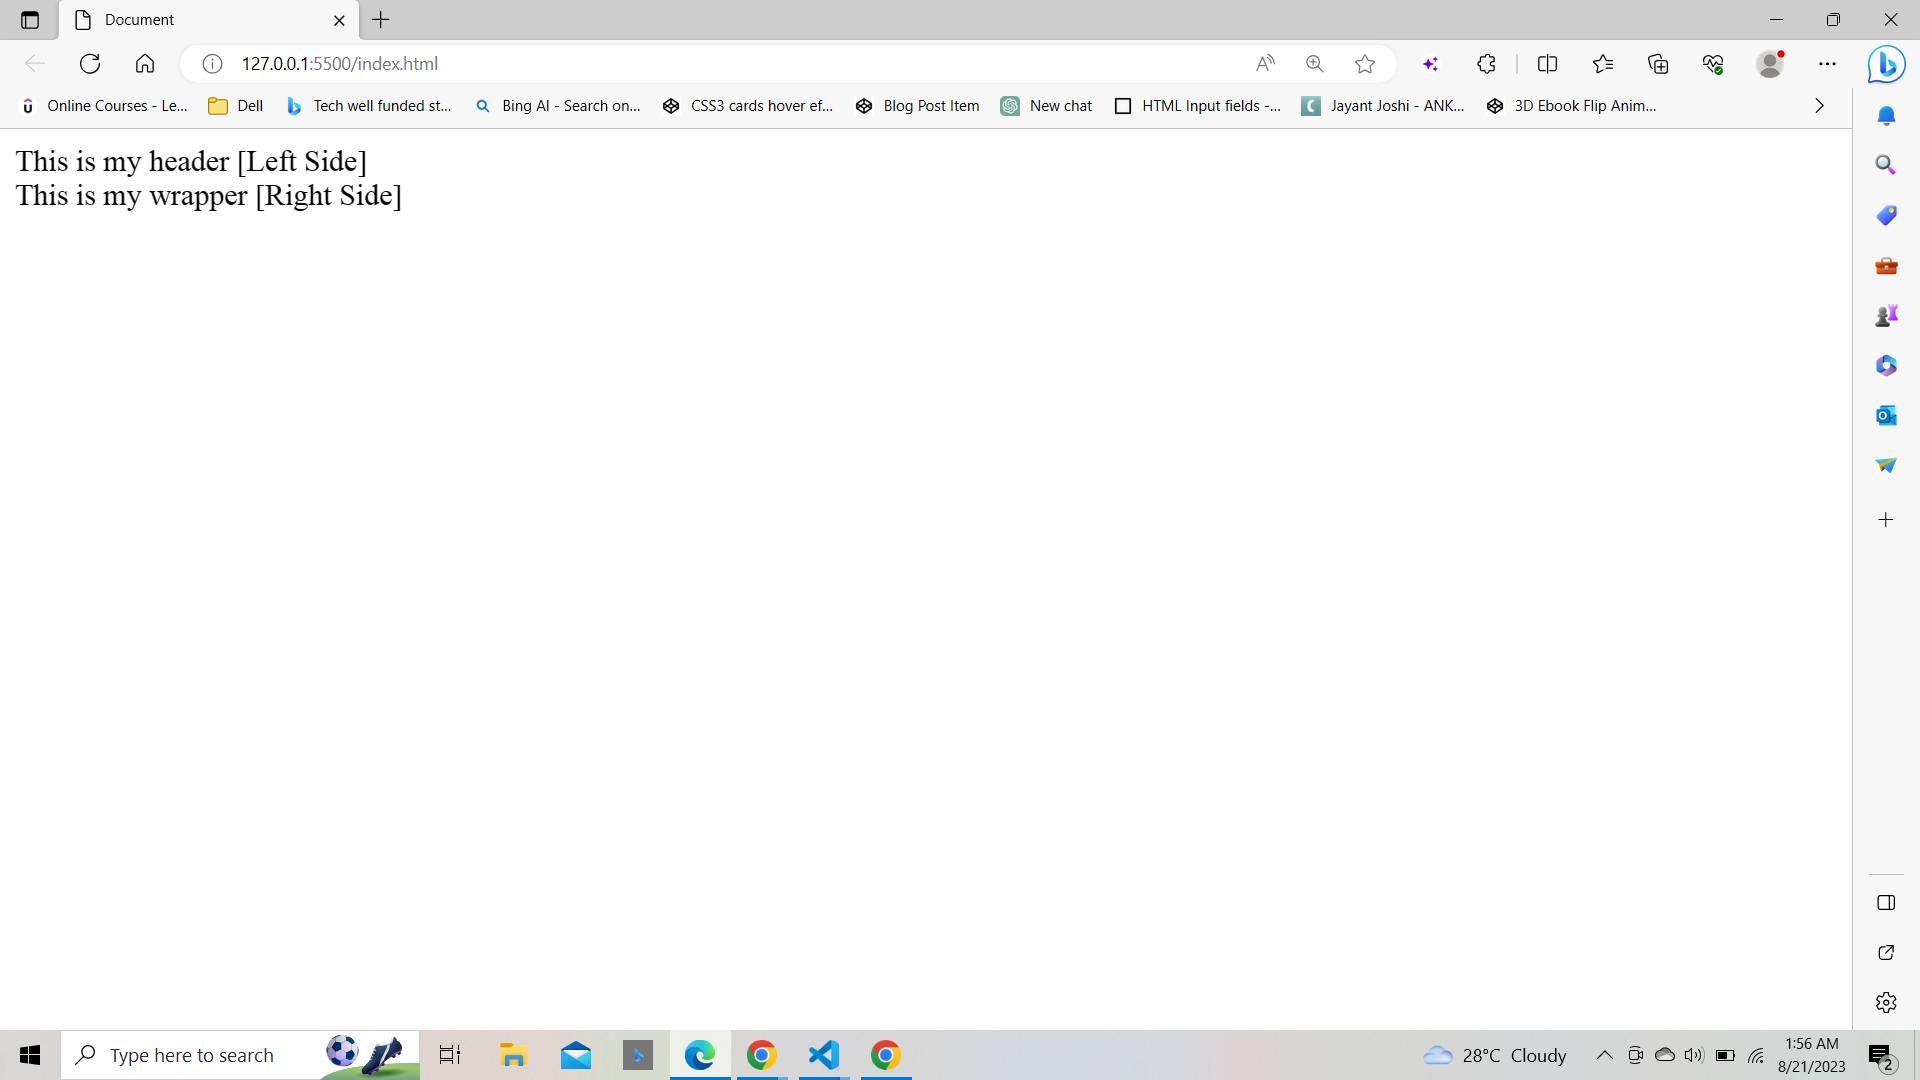
Now that our stage is set, let's start adding some actual content to our page. We're going to divide our layout into two columns: a header on the left and a music player on the right.

<div class="header">
  This is my header [Left Side]
</div>

<div class="wrapper">
  This is my wrapper [Right Side]
</div>
Styling the Layout
To make this layout shine, let's add some CSS magic! Link your index.css file to your HTML document.
<link rel="stylesheet" href="index.css">
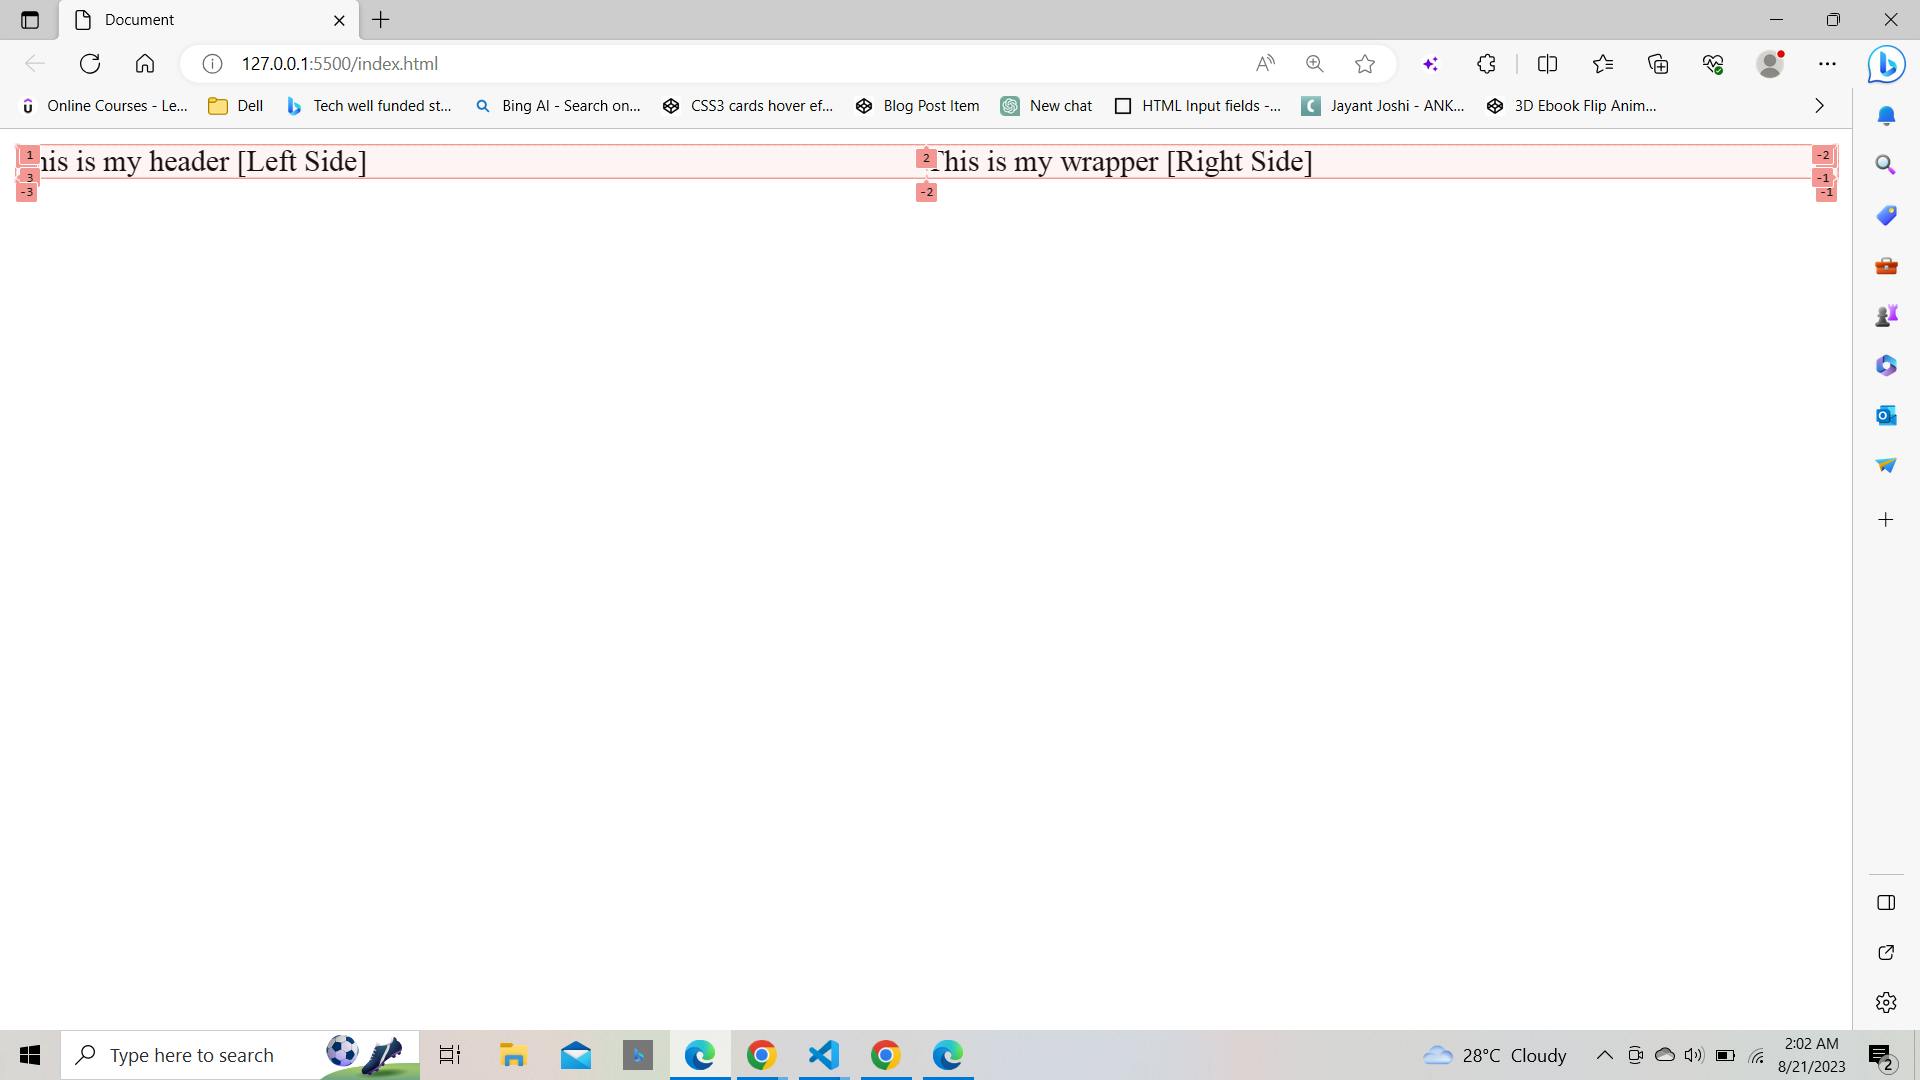
In your index.css file, start by styling the grid layout:
body {
  display: grid;
  grid-template-columns: repeat(2, 1fr);
  grid-template-rows: 1fr;
  grid-column-gap: 0px;
  grid-row-gap: 0px;
  justify-items: center;
  justify-content: center;
  align-content: center;
  align-items: center;
}
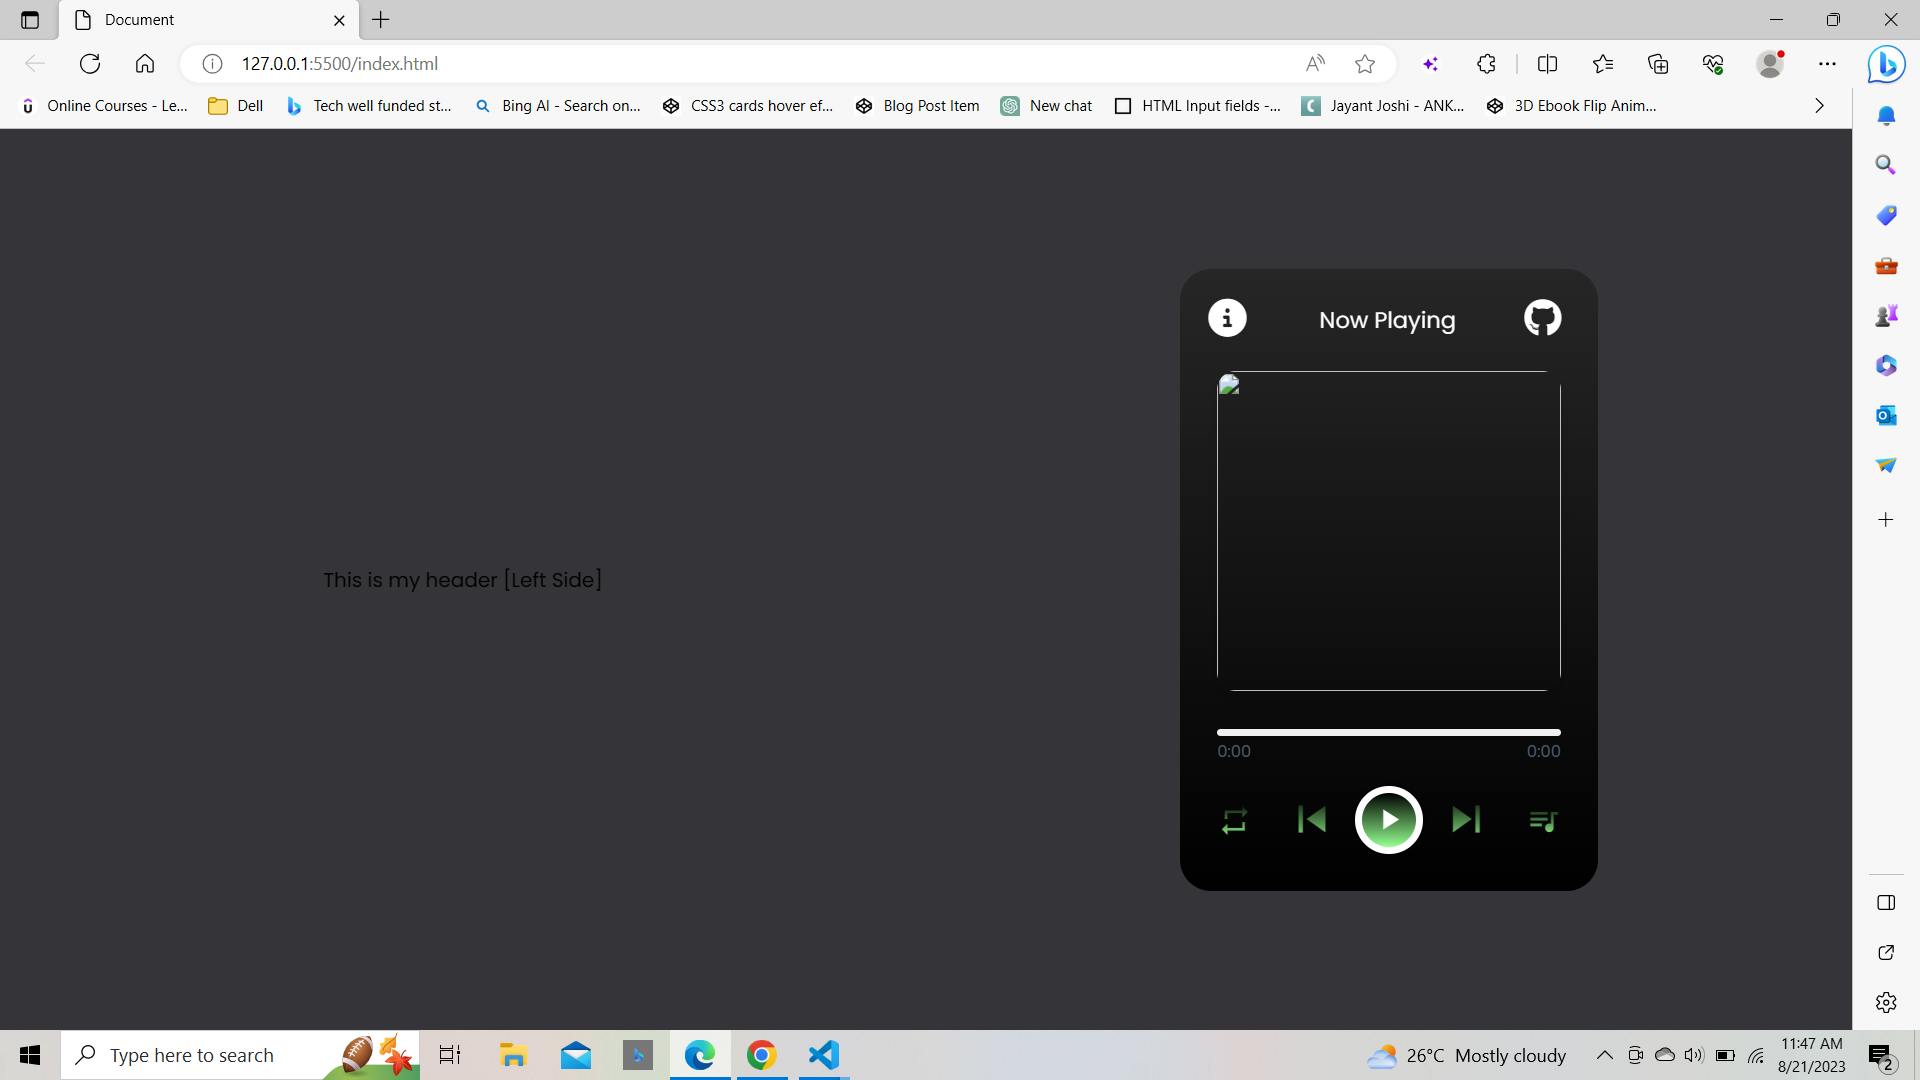
Looking good so far! Our page is divided into two neat columns.
Let's move on to the exciting part – creating the player UI. We'll break it down into several sections and style each one.
Top Bar - Icons and Text

The top bar contains an information icon, the "Now Playing" text, and a GitHub icon.
<div class="top-bar">
  <a href="#demo-modal"><i class="fa-solid fa-circle-info"></i></a>
  <span>Now Playing</span>
  <a href="https://github.com/your-username/your-music-app" target="_blank"><i class="fa-brands fa-github"></i></a>
</div>
Image Area - Album Artwork
Now, let's create a space to display the album artwork.
<div class="img-area">
  <img src="your-image-url.jpg" alt="Album Artwork">
</div>
Song Details - Title and Artist
The song details area will display the song's title and artist.
<div class="song-details">
  <p class="name">Song Title</p>
  <p class="artist">Artist Name</p>
</div>
Progress Area - Progress Bar and Time

This section features a progress bar and the current song's time.
<div class="progress-area">
  <div class="progress-bar">
    <audio id="main-audio" src="your-audio-file.mp3"></audio>
  </div>
  <div class="song-timer">
    <span class="current-time">0:00</span>
    <span class="max-duration">0:00</span>
  </div>
</div>
Controls - Playback Buttons
Finally, let's add some buttons for controlling playback.
<div class="controls">
  <i id="repeat-plist" class="material-icons" title="Playlist looped">repeat</i>
  <i id="prev" class="material-icons">skip_previous</i>
  <div class="play-pause">
    <i class="material-icons play">play_arrow</i>
  </div>
  <i id="next" class="material-icons">skip_next</i>
  <i id="more-music" class="material-icons">queue_music</i>
</div>
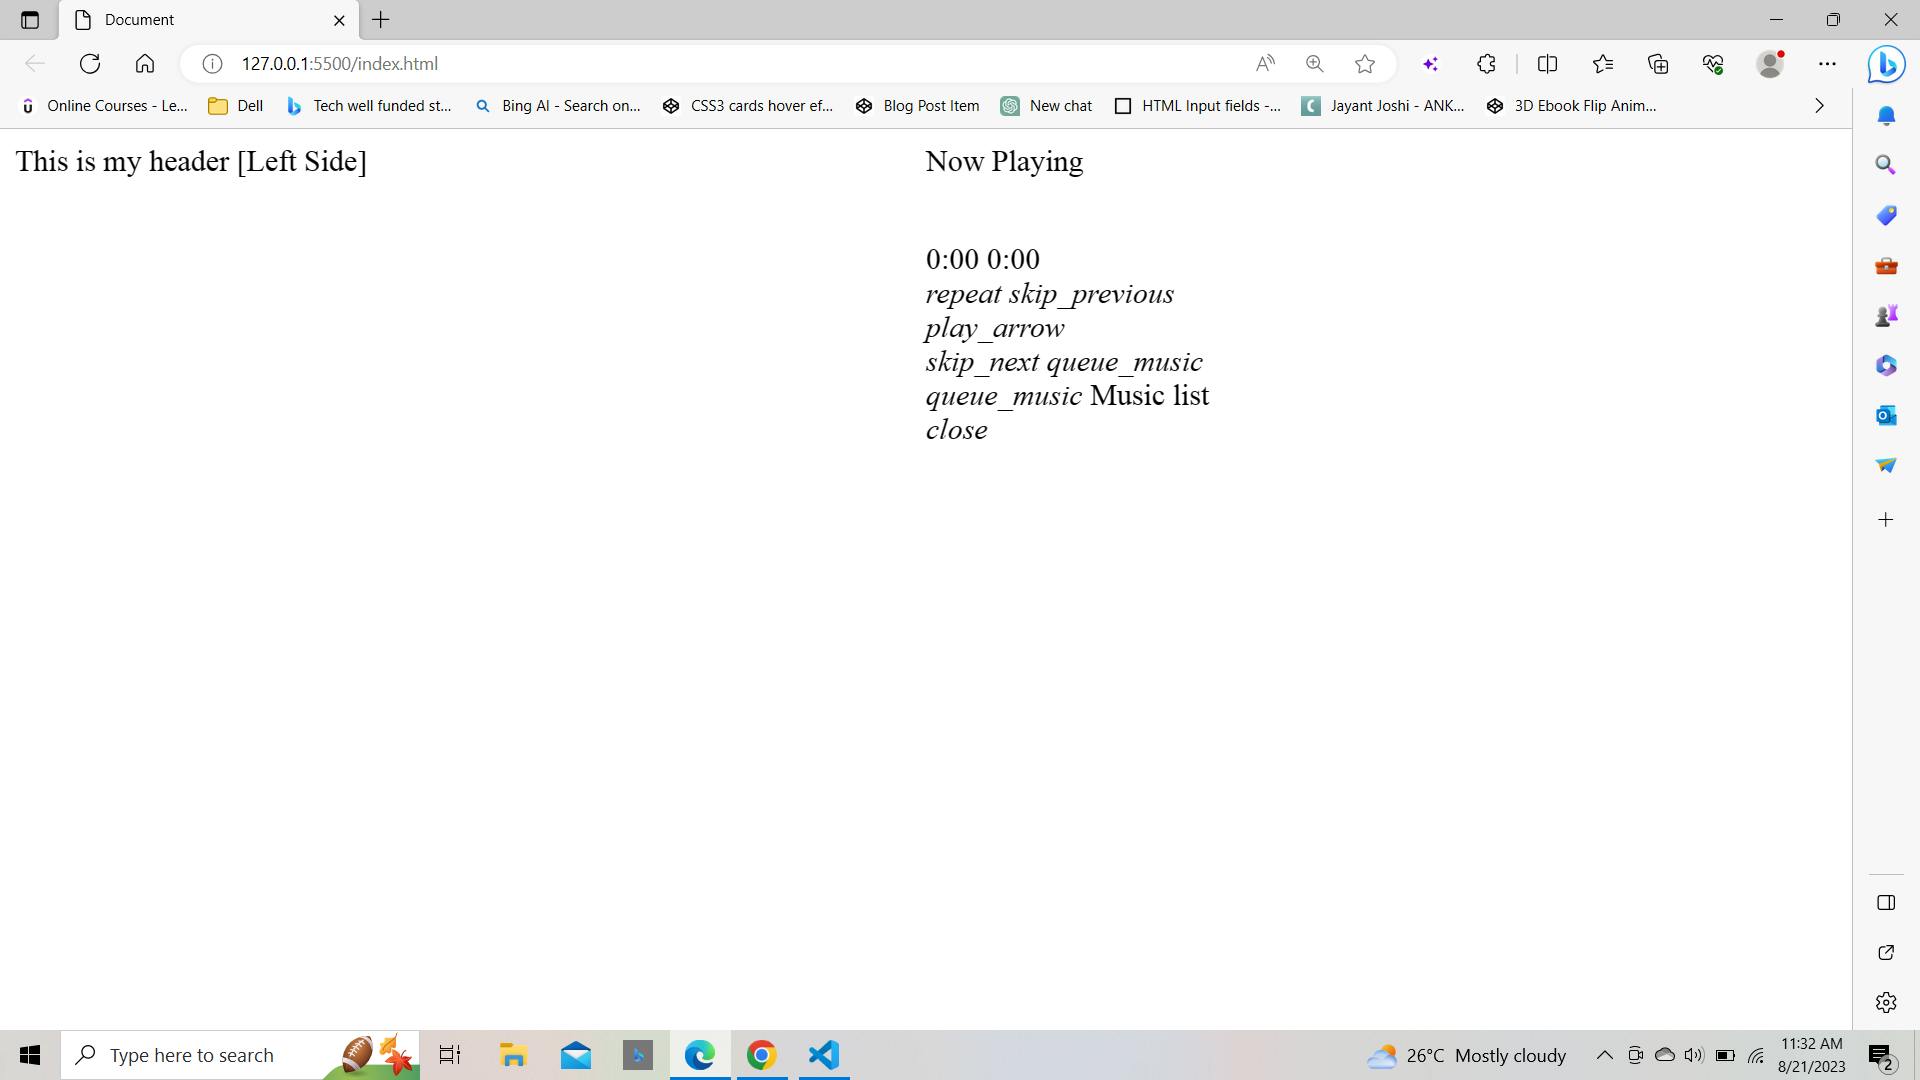
Bringing It All Together
Now, if you open your HTML file in a browser, you'll see the basic structure of your music player taking shape. But remember, we're just getting started! The real magic comes when we add JavaScript logic to make everything work seamlessly.
Adding the Magic with CSS ✨
Now comes the fun part – we'll add CSS to make everything look amazing. Let's give our players a visual boost!
/* Let's apply some magic to our player */
body {
  /* Your grid styles here */
}

/* Styling for the top bar */
.top-bar {
  /* Your top bar styles here */
}

/* Styling for the image area */
.img-area {
  /* Your image area styles here */
}

/* Styling for song details */
.song-details {
  /* Your song details styles here */
}

/* Styling for the progress area */
.progress-area {
  /* Your progress area styles here */
}

/* Styling for the controls */
.controls {
  /* Your controls styles here */
}

/* Don't forget to import Font Awesome and Material Icons for the icons to work */
Now, let's add CSS to make it beautiful. I won't delve into each CSS property. Because we'll dive deeper into the logic part, I'll give you a glimpse of what to expect.
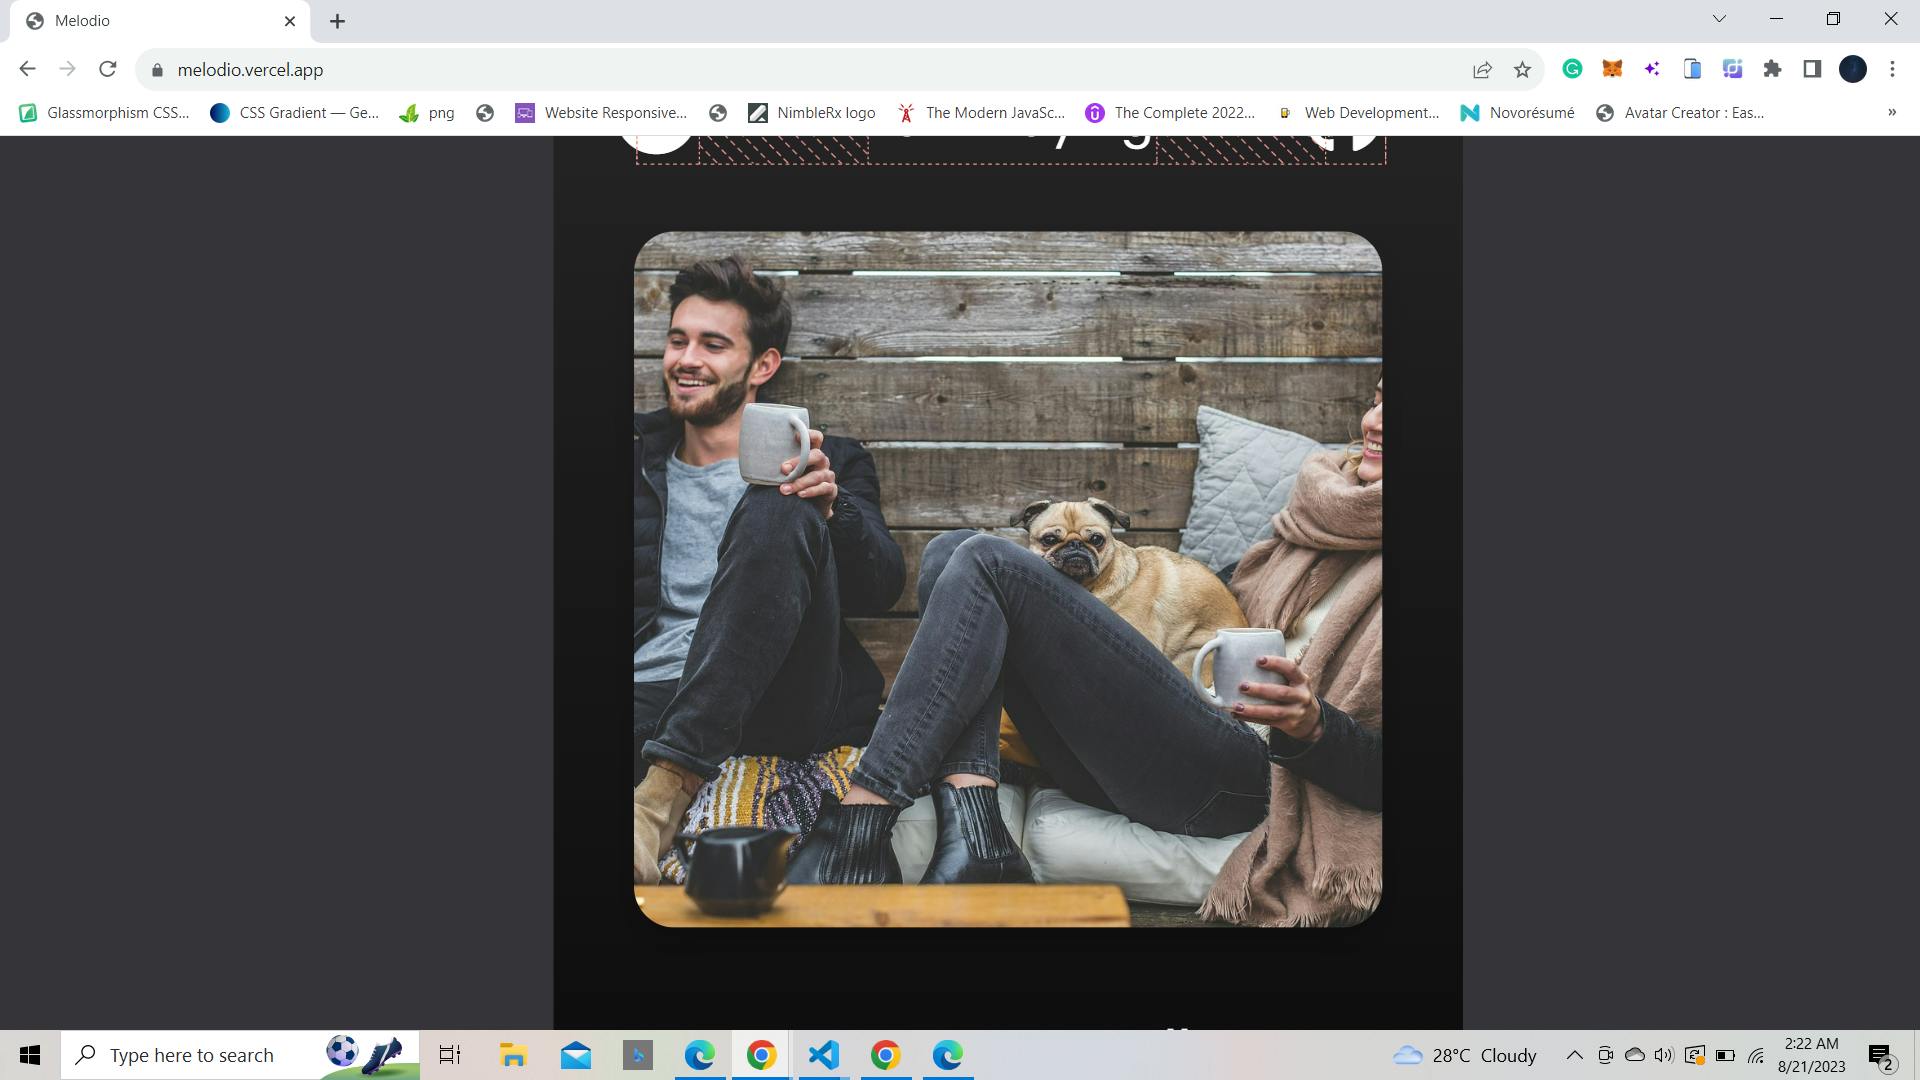
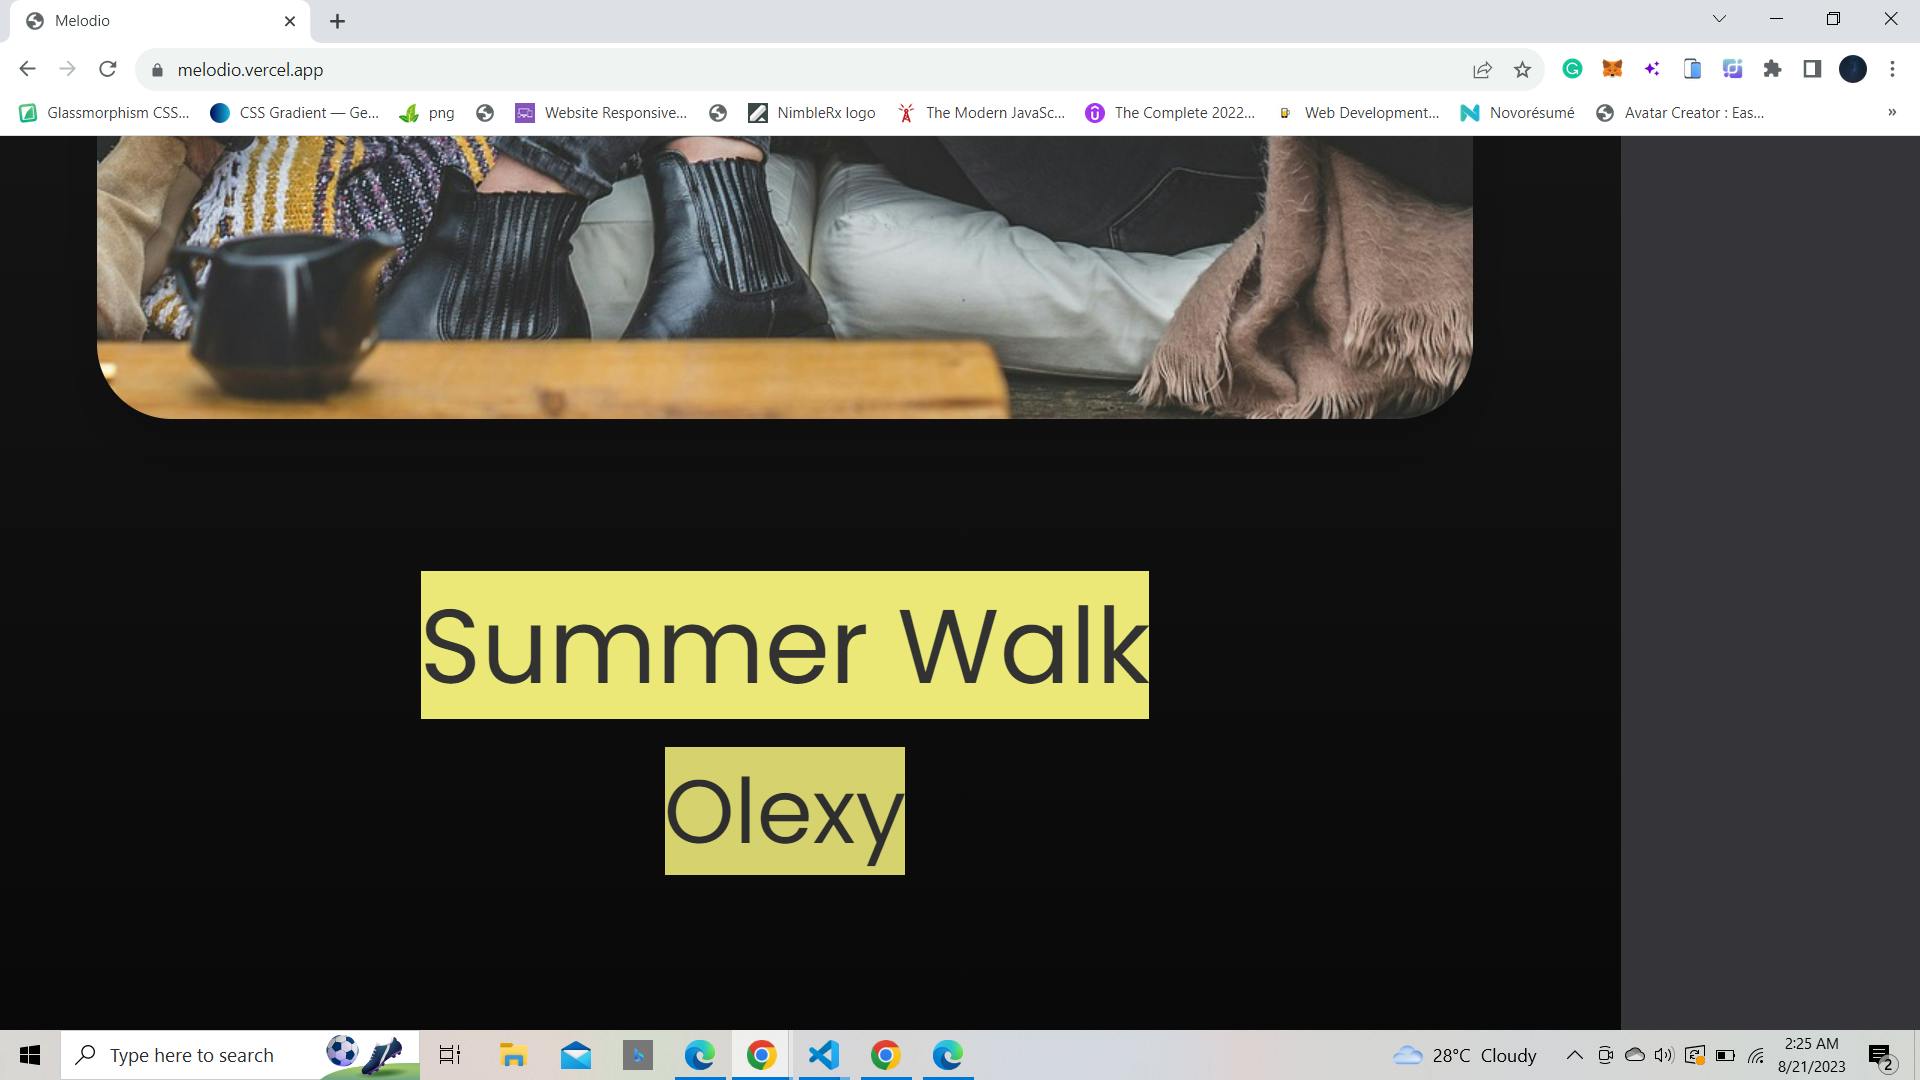
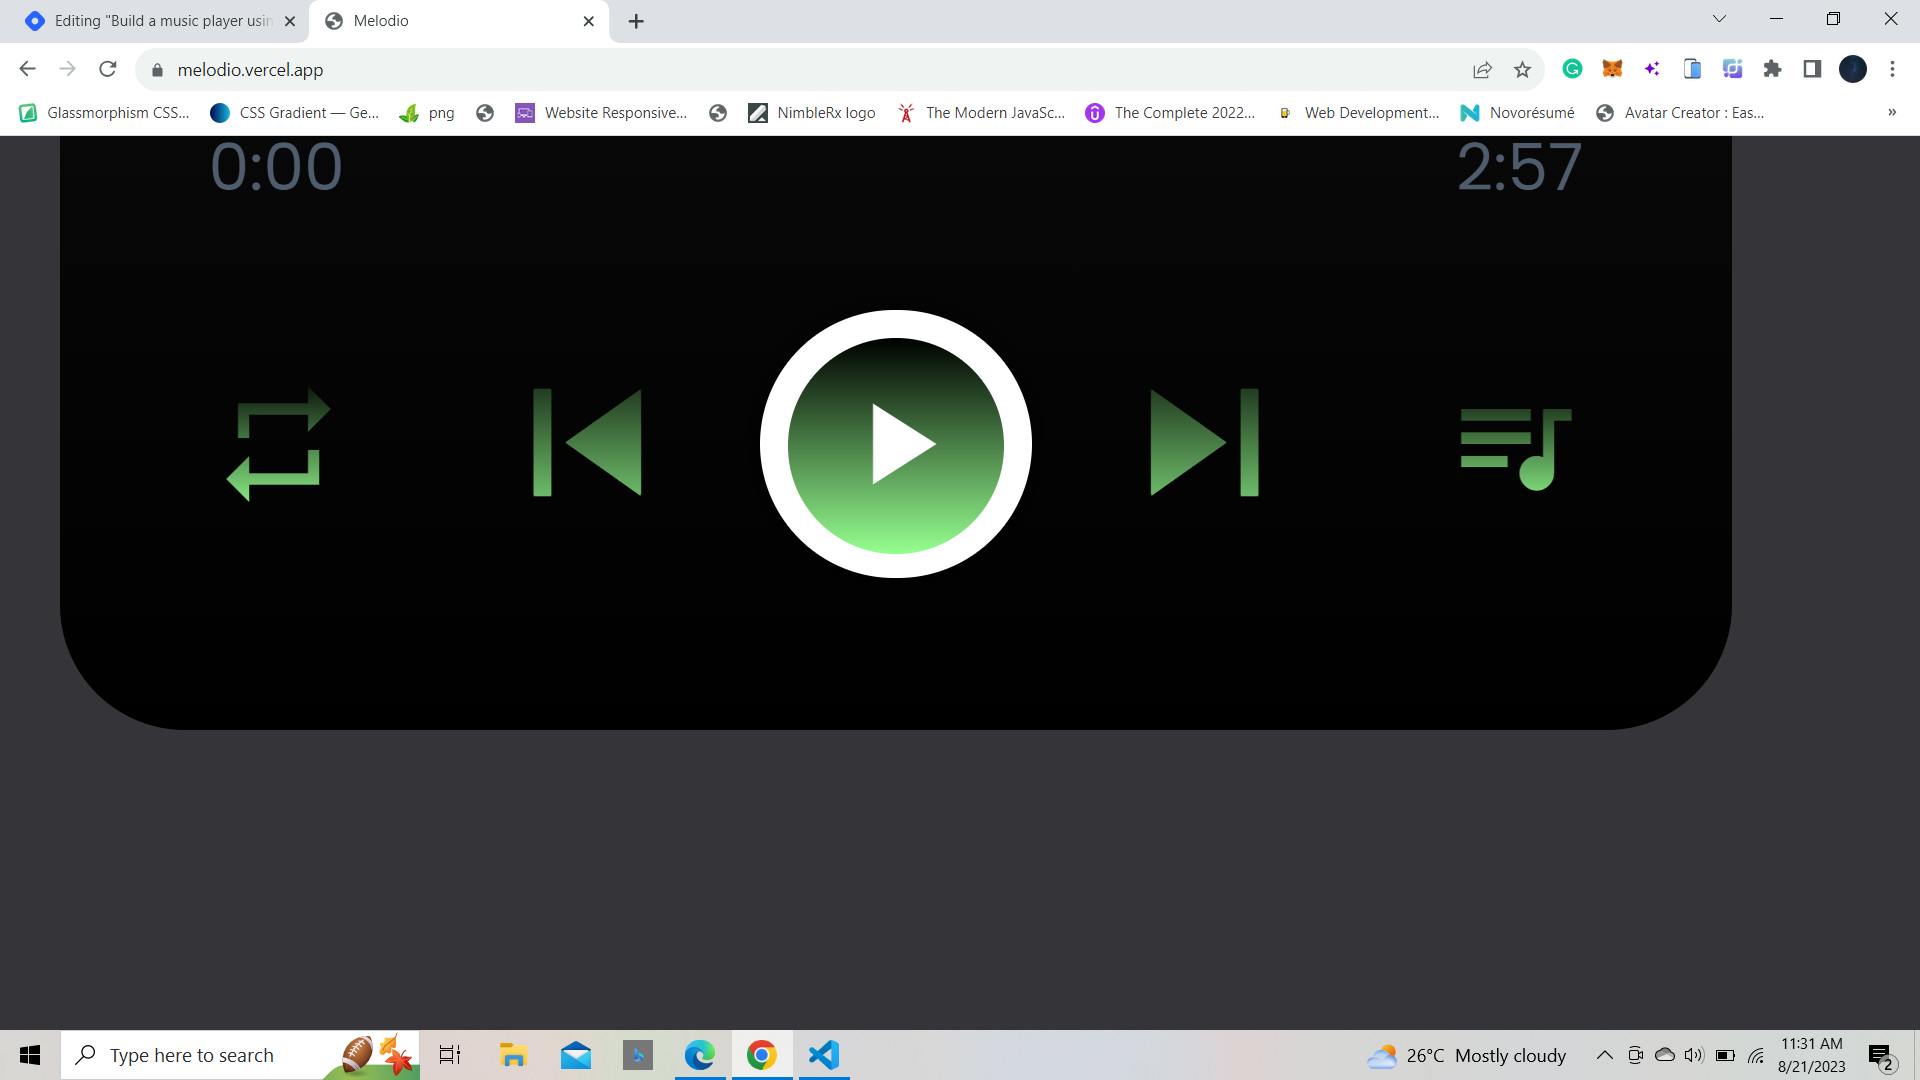
You can grab the complete CSS code from here. After you've added some parts of the CSS code, your app will start to look like a polished music player, ready to hit the stage:
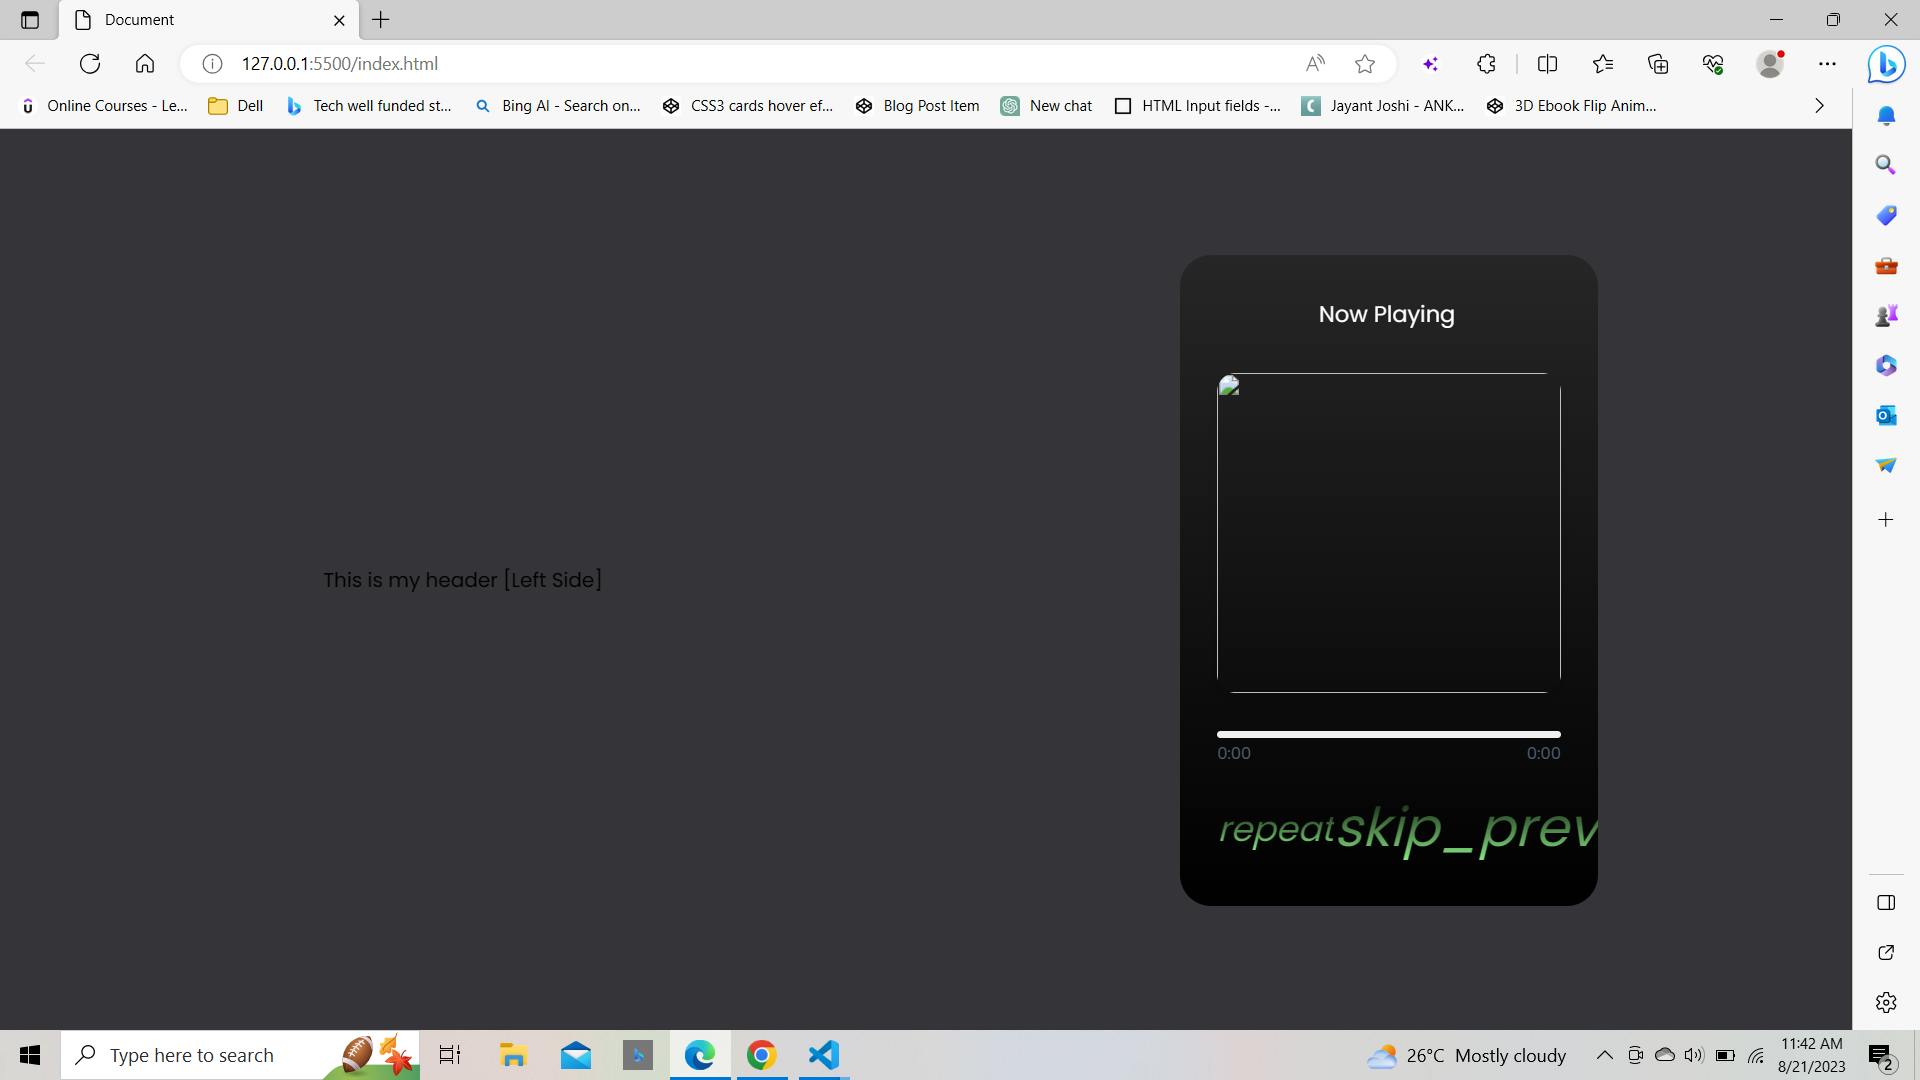
You can notice that the icons aren't showing up as expected. So, we'll use Font Awesome and Material Icons. To bring those icons, paste these lines of code into your HTML file:
<link rel="stylesheet" href="https://cdnjs.cloudflare.com/ajax/libs/font-awesome/6.4.2/css/all.min.css" integrity="sha512-z3gLpd7yknf1YoNbCzqRKc4qyor8gaKU1qmn+CShxbuBusANI9QpRohGBreCFkKxLhei6S9CQXFEbbKuqLg0DA==" crossorigin="anonymous" referrerpolicy="no-referrer" />
<link rel="stylesheet" href="https://fonts.googleapis.com/icon?family=Material+Icons">
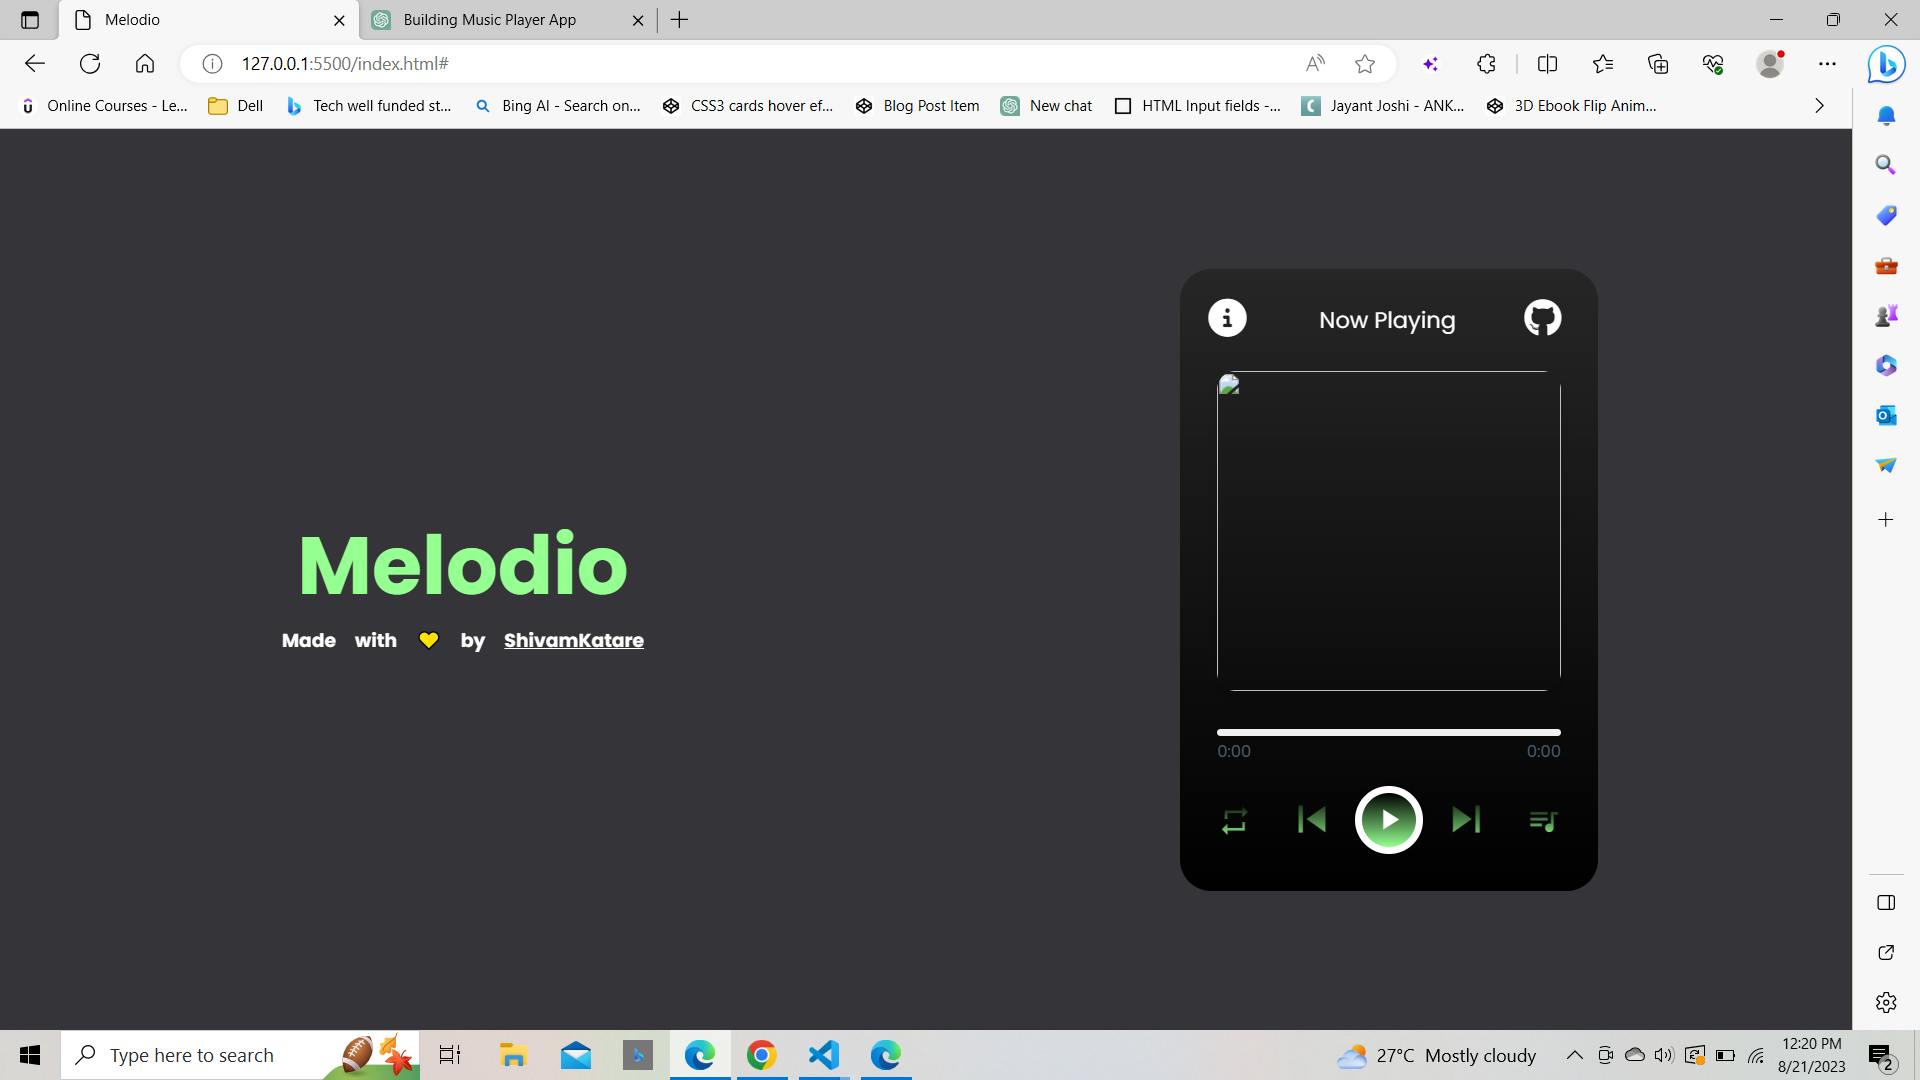
And just like that, our app blossoms into its final visual form! 🌟
With our app looking polished and professional, it's time to shift gears. We've built the foundation with some snazzy CSS, but the real magic happens when we bring in JavaScript to make things work.
Setting the Stage
Let's begin by setting up the groundwork for our logic. Open your code editor and create a new file named music-list.js. This file will be responsible for holding the song data and managing the core playback functionality of our app.
Adding Songs to the Collection
In the music-list.js file, and add the songs you want to include in your app. Each should have properties like the song name, artist, image source, and audio source. Here's what the initial structure might look like:
const allMusic = [
  {
    name: "Song 1",
    artist: "Artist 1",
    src: "song_1",
    img: "path_to_image_1.jpg",
  },
  {
    name: "Song 2",
    artist: "Artist 2",
    src: "song_2",
    img: "path_to_image_2.jpg",
  },
  // ... Add more songs here
];
Implementing the Playback Logic
With our songs defined, let's integrate the playback functionality. We'll work within our main JavaScript file (let's call it index.js). Don't worry; I'll guide you through each step.
Accessing DOM Elements
First, we need to access various DOM elements using JavaScript to interact with them. We'll set up variables to store references to these elements, making it easier to manipulate them later:
const wrapper = document.querySelector(".wrapper");
const musicImg = wrapper.querySelector(".img-area img");
const musicName = wrapper.querySelector(".song-details .name");
const musicArtist = wrapper.querySelector(".song-details .artist");
const playPauseBtn = wrapper.querySelector(".play-pause");
const prevBtn = wrapper.querySelector("#prev");
const nextBtn = wrapper.querySelector("#next");
const mainAudio = wrapper.querySelector("#main-audio");
const progressArea = wrapper.querySelector(".progress-area");
const progressBar = progressArea.querySelector(".progress-bar");
const musicList = wrapper.querySelector(".music-list");
const moreMusicBtn = wrapper.querySelector("#more-music");
const closemoreMusic = musicList.querySelector("#close");

// Here' #'s are IDs and and (.)'s are classes
Initial Setup
We'll also need a few variables to manage the state of our app:
let musicIndex = Math.floor((Math.random() * allMusic.length) + 1);
let isMusicPaused = true;
The musicIndex the variable will keep track of the currently playing song, and the isMusicPaused flag will indicate whether the music is currently paused.
Background Animation
We'll create a function called changeBackgroundColor to animate the background color when music is playing:
function changeBackgroundColor() {
  if (!mainAudio.paused) {
    document.body.style.animation = "changeBackgroundColor 25s infinite";
    document.getElementById("header-title").style.animation = "changeColor 25s infinite";
  } else {
    document.body.style.animation = "none";
    document.getElementById("header-title").style.animation = "none";
  }
}

changeBackgroundColor();
mainAudio.addEventListener("play", changeBackgroundColor);
mainAudio.addEventListener("pause", changeBackgroundColor);
This function applies animations to the background and the header title when music plays.
Loading Music
We'll create a function named loadMusic to load the details of the current song:
function loadMusic(indexNumb) {
  musicName.innerText = allMusic[indexNumb - 1].name;
  musicArtist.innerText = allMusic[indexNumb - 1].artist;
  musicImg.src = allMusic[indexNumb - 1].img;
  mainAudio.src = allMusic[indexNumb - 1].src;
}
The loadMusic updates the displayed information based on the current song
Now, you might be able to see this error:
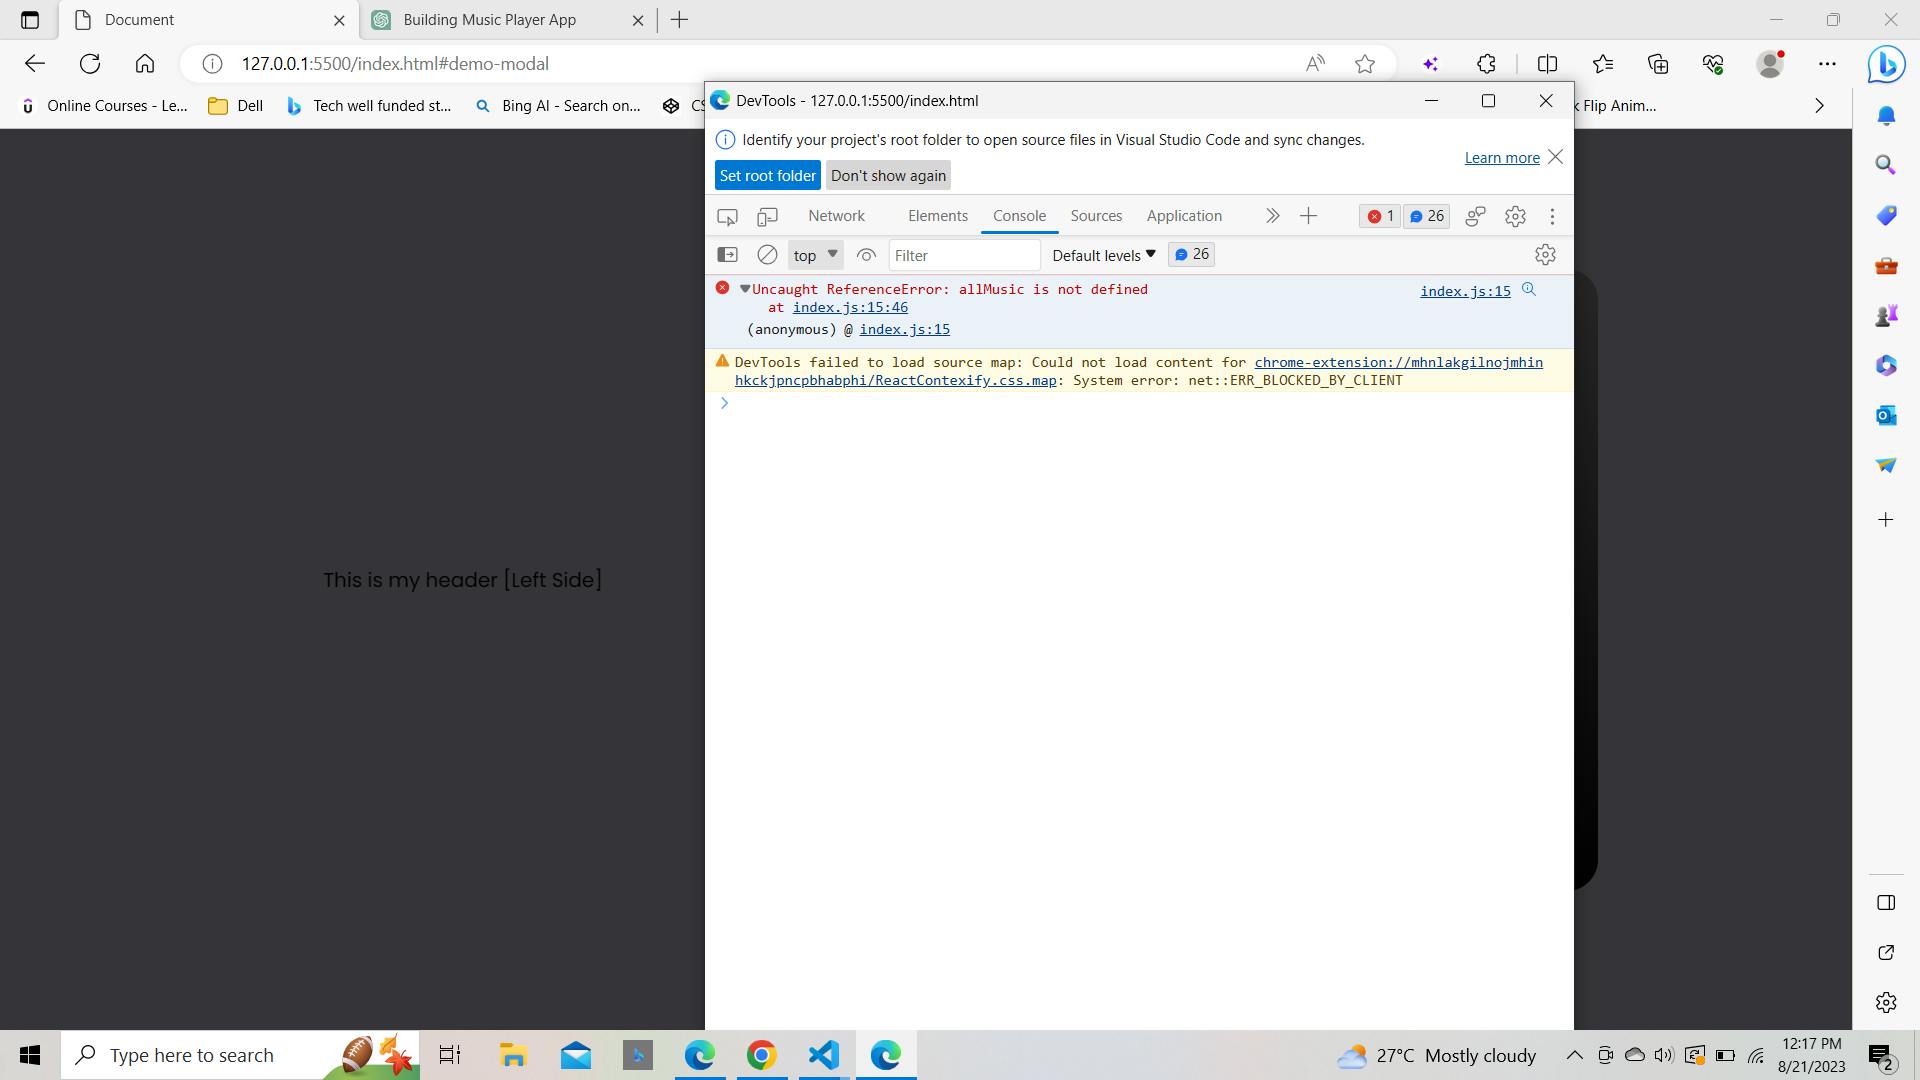
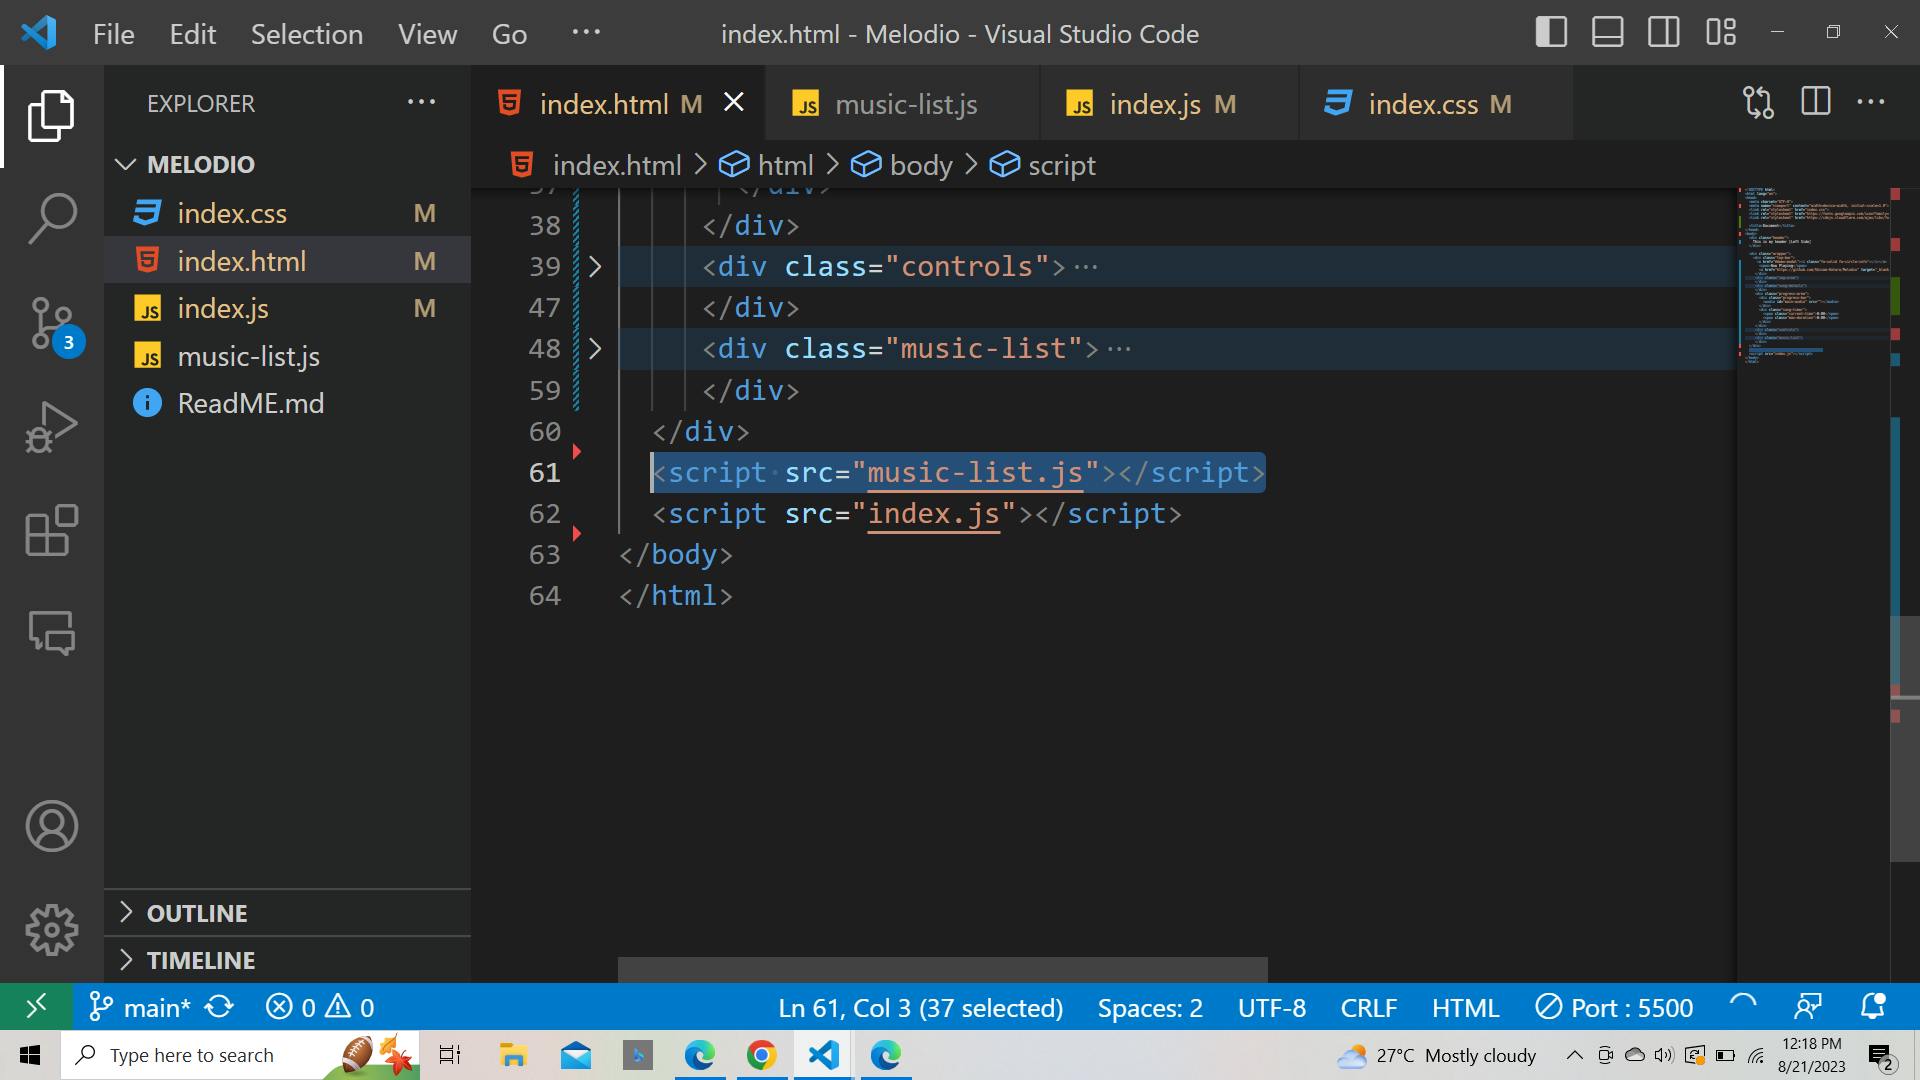
So, to fix it, you include your music-list.js file in your HTML file.👇
Play and Pause Functions
Next, let's implement the play and pause functionality:
function playMusic() {
  wrapper.classList.add("paused");
  playPauseBtn.querySelector("i").innerText = "pause";
  mainAudio.play();
}

function pauseMusic() {
  wrapper.classList.remove("paused");
  playPauseBtn.querySelector("i").innerText = "play_arrow";
  mainAudio.pause();
}
The playMusic the function starts playing the current song while pauseMusic pauses it.
Previous and Next Functions
We also need functions to play the previous and next songs:
function prevMusic() {
  musicIndex--;
  if (musicIndex < 1) {
    musicIndex = allMusic.length;
  }
  loadMusic(musicIndex);
  playMusic();
}

function nextMusic() {
  musicIndex++;
  if (musicIndex > allMusic.length) {
    musicIndex = 1;
  }
  loadMusic(musicIndex);
  playMusic();
}
The prevMusic and nextMusic functions adjust the musicIndex to navigate through the playlist and play the corresponding songs
Play and Pause Button Event
We'll add an event listener to the play-pause button to toggle between playing and pausing:
playPauseBtn.addEventListener("click", () => {
  const isMusicPlay = wrapper.classList.contains("paused");
  isMusicPlay ? pauseMusic() : playMusic();
});
The event listener checks the state of the app (playing or paused) and triggers the appropriate action.
Now, we'll dive deeper into creating an interactive music list and adding features that enhance the user experience.
Building the Music List
Remember the music list you envisioned? Let's bring it to life! Open your index.js file, and let's continue.
Accessing the Music List
We'll start by accessing the unordered list (ul) element that will hold our music list:
const ulTag = wrapper.querySelector("ul");
Generating List Items
Now, let's loop through each song in the allMusic array and list items (li) dynamically:
for (let i = 0; i < allMusic.length; i++) {
  let liTag = `<li li-index="${i + 1}">
                <div class="row">
                  <span>${allMusic[i].name}</span>
                  <p>${allMusic[i].artist}</p>
                </div>
                <span id="${allMusic[i].img}" class="audio-duration"></span>
                <audio class="${allMusic[i].src}" src="songs/${allMusic[i].src}.mp3"></audio>
              </li>`;
  ulTag.insertAdjacentHTML("beforeend", liTag);
}
The loop generates list items for each song, displaying the song name and artist. Additionally, it creates an audio element for each song to handle playback.
Adding Song Durations
We'll use the loadeddata to calculate and display the song durations within the list items:
const liAudioDuartionTag = ulTag.querySelector(`li[li-index="${i + 1}"] .audio-duration`);
const liAudioTag = ulTag.querySelector(`li[li-index="${i + 1}"] .audio-duration`);
liAudioTag.addEventListener("loadeddata", () => {
  const duration = liAudioTag.duration;
  const totalMin = Math.floor(duration / 60);
  let totalSec = Math.floor(duration % 60);
  if (totalSec < 10) {
    totalSec = `0${totalSec}`;
  }
  liAudioDuartionTag.innerText = `${totalMin}:${totalSec}`;
  liAudioDuartionTag.setAttribute("t-duration", `${totalMin}:${totalSec}`);
});
The event calculates and displays the song durations within the list of items. It also sets a custom attribute to store the duration for later use.
Enhancing the Playback Experience
We've built the music list, but let's further enhance the playback experience. We'll add features like highlighting the currently playing song and adjusting the progress bar based on the song's current time.
Highlighting the Playing Song
Create a function called playingSong to highlight the currently playing song within the list:
function playingSong() {
  const allLiTag = ulTag.querySelectorAll("li");

  for (let j = 0; j < allLiTag.length; j++) {
    const audioTag = allLiTag[j].querySelector(".audio-duration");

    if (allLiTag[j].classList.contains("playing")) {
      allLiTag[j].classList.remove("playing");
      const adDuration = audioTag.getAttribute("t-duration");
      audioTag.innerText = adDuration;
    }

    if (allLiTag[j].getAttribute("li-index") == musicIndex) {
      allLiTag[j].classList.add("playing");
      audioTag.innerText = "Playing";
    }

    allLiTag[j].setAttribute("onclick", "clicked(this)");
  }
}
The playingSong adds a class to the currently playing song, visually highlighting it in the list.
Updating Progress Bar
We'll implement a function to update the progress bar and the song's current time based on playback:
function updateProgressBar(currentTime) {
  const duration = mainAudio.duration;
  const progressWidth = (currentTime / duration) * 100;
  progressBar.style.width = `${progressWidth}%`;

  const musicCurrentTime = wrapper.querySelector(".current-time");
  const currentMin = Math.floor(currentTime / 60);
  let currentSec = Math.floor(currentTime % 60);
  if (currentSec < 10) {
    currentSec = `0${currentSec}`;
  }
  musicCurrentTime.innerText = `${currentMin}:${currentSec}`;
}

mainAudio.addEventListener("timeupdate", (e) => {
  if (!isDragging) {
    const currentTime = e.target.currentTime;
    updateProgressBar(currentTime);
  }
});
The updateProgressBar the function calculates and updates the progress bar width and the time.
So, our complete code now will look like this:
const wrapper = document.querySelector(".wrapper"),
  musicImg = wrapper.querySelector(".img-area img"),
  musicName = wrapper.querySelector(".song-details .name"),
  musicArtist = wrapper.querySelector(".song-details .artist"),
  playPauseBtn = wrapper.querySelector(".play-pause"),
  prevBtn = wrapper.querySelector("#prev"),
  nextBtn = wrapper.querySelector("#next"),
  mainAudio = wrapper.querySelector("#main-audio"),
  progressArea = wrapper.querySelector(".progress-area"),
  progressBar = progressArea.querySelector(".progress-bar"),
  musicList = wrapper.querySelector(".music-list"),
  moreMusicBtn = wrapper.querySelector("#more-music"),
  closemoreMusic = musicList.querySelector("#close");

let musicIndex = Math.floor((Math.random() * allMusic.length) + 1);
isMusicPaused = true;

// Function to change the background color using the keyframes animation
function changeBackgroundColor() {
  if (!mainAudio.paused) { // Check if the music is playing
    document.body.style.animation = "changeBackgroundColor 25s infinite";
    document.getElementById("header-title").style.animation = "changeColor 25s infinite";
  } else {
    document.body.style.animation = "none"; // Remove animation
    document.getElementById("header-title").style.animation = "none"; // Remove animation
  }
}

// Call the function to start the animation
changeBackgroundColor();

// Add an event listener to update the background when music is played or paused
mainAudio.addEventListener("play", changeBackgroundColor);
mainAudio.addEventListener("pause", changeBackgroundColor);

window.addEventListener("load", () => {
  loadMusic(musicIndex);
  playingSong();
});

function loadMusic(indexNumb) {
  musicName.innerText = allMusic[indexNumb - 1].name;
  musicArtist.innerText = allMusic[indexNumb - 1].artist;
  musicImg.src = allMusic[indexNumb - 1].img;
  mainAudio.src = allMusic[indexNumb - 1].src;
}

//play music function
function playMusic() {
  wrapper.classList.add("paused");
  playPauseBtn.querySelector("i").innerText = "pause";
  mainAudio.play();
}

//pause music function
function pauseMusic() {
  wrapper.classList.remove("paused");
  playPauseBtn.querySelector("i").innerText = "play_arrow";
  mainAudio.pause();
}

//prev music function
function prevMusic() {
  musicIndex--; //decrement of musicIndex by 1
  //if musicIndex is less than 1 then musicIndex will be the array length so the last music play
  musicIndex < 1 ? musicIndex = allMusic.length : musicIndex = musicIndex;
  loadMusic(musicIndex);
  playMusic();
  playingSong();
}

//next music function
function nextMusic() {
  musicIndex++; //increment of musicIndex by 1
  //if musicIndex is greater than array length then musicIndex will be 1 so the first music play
  musicIndex > allMusic.length ? musicIndex = 1 : musicIndex = musicIndex;
  loadMusic(musicIndex);
  playMusic();
  playingSong();
}

// play or pause button event
playPauseBtn.addEventListener("click", () => {
  const isMusicPlay = wrapper.classList.contains("paused");
  //if isPlayMusic is true then call pauseMusic else call playMusic
  isMusicPlay ? pauseMusic() : playMusic();
  playingSong();
});

//prev music button event
prevBtn.addEventListener("click", () => {
  prevMusic();
});

//next music button event
nextBtn.addEventListener("click", () => {
  nextMusic();
});

// update progress bar width according to music current time
mainAudio.addEventListener("timeupdate", (e) => {
  const currentTime = e.target.currentTime; //getting playing song currentTime
  const duration = e.target.duration; //getting playing song total duration
  let progressWidth = (currentTime / duration) * 100;
  progressBar.style.width = `${progressWidth}%`;

  let musicCurrentTime = wrapper.querySelector(".current-time"),
    musicDuartion = wrapper.querySelector(".max-duration");
  mainAudio.addEventListener("loadeddata", () => {
    // update song total duration
    let mainAdDuration = mainAudio.duration;
    let totalMin = Math.floor(mainAdDuration / 60);
    let totalSec = Math.floor(mainAdDuration % 60);
    if (totalSec < 10) { //if sec is less than 10 then add 0 before it
      totalSec = `0${totalSec}`;
    }
    musicDuartion.innerText = `${totalMin}:${totalSec}`;
  });
  // update playing song current time
  let currentMin = Math.floor(currentTime / 60);
  let currentSec = Math.floor(currentTime % 60);
  if (currentSec < 10) { //if sec is less than 10 then add 0 before it
    currentSec = `0${currentSec}`;
  }
  musicCurrentTime.innerText = `${currentMin}:${currentSec}`;
});

// update playing song currentTime on according to the progress bar width
progressArea.addEventListener("click", (e) => {
  let progressWidth = progressArea.clientWidth; //getting width of progress bar
  let clickedOffsetX = e.offsetX; //getting offset x value
  let songDuration = mainAudio.duration; //getting song total duration

  mainAudio.currentTime = (clickedOffsetX / progressWidth) * songDuration;
  playMusic(); //calling playMusic function
  playingSong();
});

// Variables to handle drag functionality
let isDragging = false;
let offsetX = 0;

// Event listener for mousedown on progress bar
progressBar.addEventListener("mousedown", (e) => {
  isDragging = true;
  offsetX = e.clientX - progressBar.getBoundingClientRect().left;
  mainAudio.pause();
});

// Event listener for mousemove on document while dragging
document.addEventListener("mousemove", (e) => {
  if (isDragging) {
    let progressWidth = progressArea.clientWidth;
    let clickX = e.clientX - progressArea.getBoundingClientRect().left;
    let songDuration = mainAudio.duration;

    let newTime = (clickX / progressWidth) * songDuration;
    if (newTime >= 0 && newTime <= songDuration) {
      mainAudio.currentTime = newTime;
      updateProgressBar(newTime);
    }
  }
});

// Event listener for mouseup on document
document.addEventListener("mouseup", () => {
  if (isDragging) {
    mainAudio.play();
    isDragging = false;
  }
});

// Function to update progress bar
function updateProgressBar(currentTime) {
  let duration = mainAudio.duration;
  let progressWidth = (currentTime / duration) * 100;
  progressBar.style.width = `${progressWidth}%`;

  let musicCurrentTime = wrapper.querySelector(".current-time");
  let currentMin = Math.floor(currentTime / 60);
  let currentSec = Math.floor(currentTime % 60);
  if (currentSec < 10) {
    currentSec = `0${currentSec}`;
  }
  musicCurrentTime.innerText = `${currentMin}:${currentSec}`;
}

// Event listener for timeupdate on main audio
mainAudio.addEventListener("timeupdate", (e) => {
  if (!isDragging) {
    let currentTime = e.target.currentTime;
    updateProgressBar(currentTime);
  }
});
The output will look like this👇

Let's take our app to the next level by adding advanced features.
Dynamic Icons for Looping and Shuffling
Our app is already playing songs flawlessly, but let's give users the ability to customize their listening experience. We'll implement dynamic icons to loop a song, the entire playlist, or shuffle their playlist.
const repeatBtn = wrapper.querySelector("#repeat-plist");
repeatBtn.addEventListener("click", () => {
  const getText = repeatBtn.innerText;
  switch (getText) {
    case "repeat":
      repeatBtn.innerText = "repeat_one";
      repeatBtn.setAttribute("title", "Song looped");
      break;
    case "repeat_one":
      repeatBtn.innerText = "shuffle";
      repeatBtn.setAttribute("title", "Playback shuffled");
      break;
    case "shuffle":
      repeatBtn.innerText = "repeat";
      repeatBtn.setAttribute("title", "Playlist looped");
      break;
  }
});

mainAudio.addEventListener("ended", () => {
  const getText = repeatBtn.innerText;
  switch (getText) {
    case "repeat":
      nextMusic();
      break;
    case "repeat_one":
      mainAudio.currentTime = 0;
      loadMusic(musicIndex);
      playMusic();
      break;
    case "shuffle":
      let randIndex = Math.floor((Math.random() * allMusic.length) + 1);
      do {
        randIndex = Math.floor((Math.random() * allMusic.length) + 1);
      } while (musicIndex == randIndex);
      musicIndex = randIndex;
      loadMusic(musicIndex);
      playMusic();
      playingSong();
      break;
  }
});
Now, users can control their music playback experience with just a click.
Unveiling More Music
Let's make our app more interactive by allowing users to explore and play more songs. Implement the following code to toggle the music list:
const moreMusicBtn = wrapper.querySelector("#more-music");
const musicList = wrapper.querySelector(".music-list");
const closemoreMusic = musicList.querySelector("#close");

moreMusicBtn.addEventListener("click", () => {
  musicList.classList.toggle("show");
});
closemoreMusic.addEventListener("click", () => {
  moreMusicBtn.click();
});
Users can now expand the music list at their convenience.
Wrapping Up
We've come to the end of building our music player app! If you're facing any issues, check that class and ID names match across your HTML and JS files. This is a common error source.
Next steps:
You can improve the existing features or add more of your own. The possibilities are endless!
The complete code for the project is available on GitHub. You can contribute and learn from others there.
Stay connected! I share web development and technical writing insights on social media. Connecting with like-minded people helps you learn and grow.
In summary, this project is not an end in itself. See it as the beginning of your coding journey. Build on what you've learned here.
That's all for now. I hope you found this music player project interesting and informative. Thanks for reading :)